
Step-by-Step Guide for Beginners
If you’re learning how to make quilt blocks step by step, starting with classic designs is the smartest choice. The most searched quilting tutorials online focus on traditional quilt block patterns that are beginner-friendly, versatile, and timeless. In this detailed guide, you’ll learn how to sew three of the most popular quilt blocks for beginners: the Nine Patch, Log Cabin, and Half-Square Triangle (HST) Star Block. These foundational blocks appear in thousands of modern and vintage quilts and are essential skills for anyone serious about quilting.
Each block below includes fabric cutting measurements, layout tips, and sewing order, so you can follow along confidently even if you’re new to quilting.
1️⃣ Nine Patch Quilt Block (The Easiest Beginner Quilt Block)
The Nine Patch quilt block is one of the most popular quilt blocks in history and a top Google search for beginner quilters. Its grid layout makes it perfect for learning accurate piecing, seam allowance control, and color balance. Despite its simplicity, the Nine Patch can look modern, vintage, or bold depending on your fabric choices.


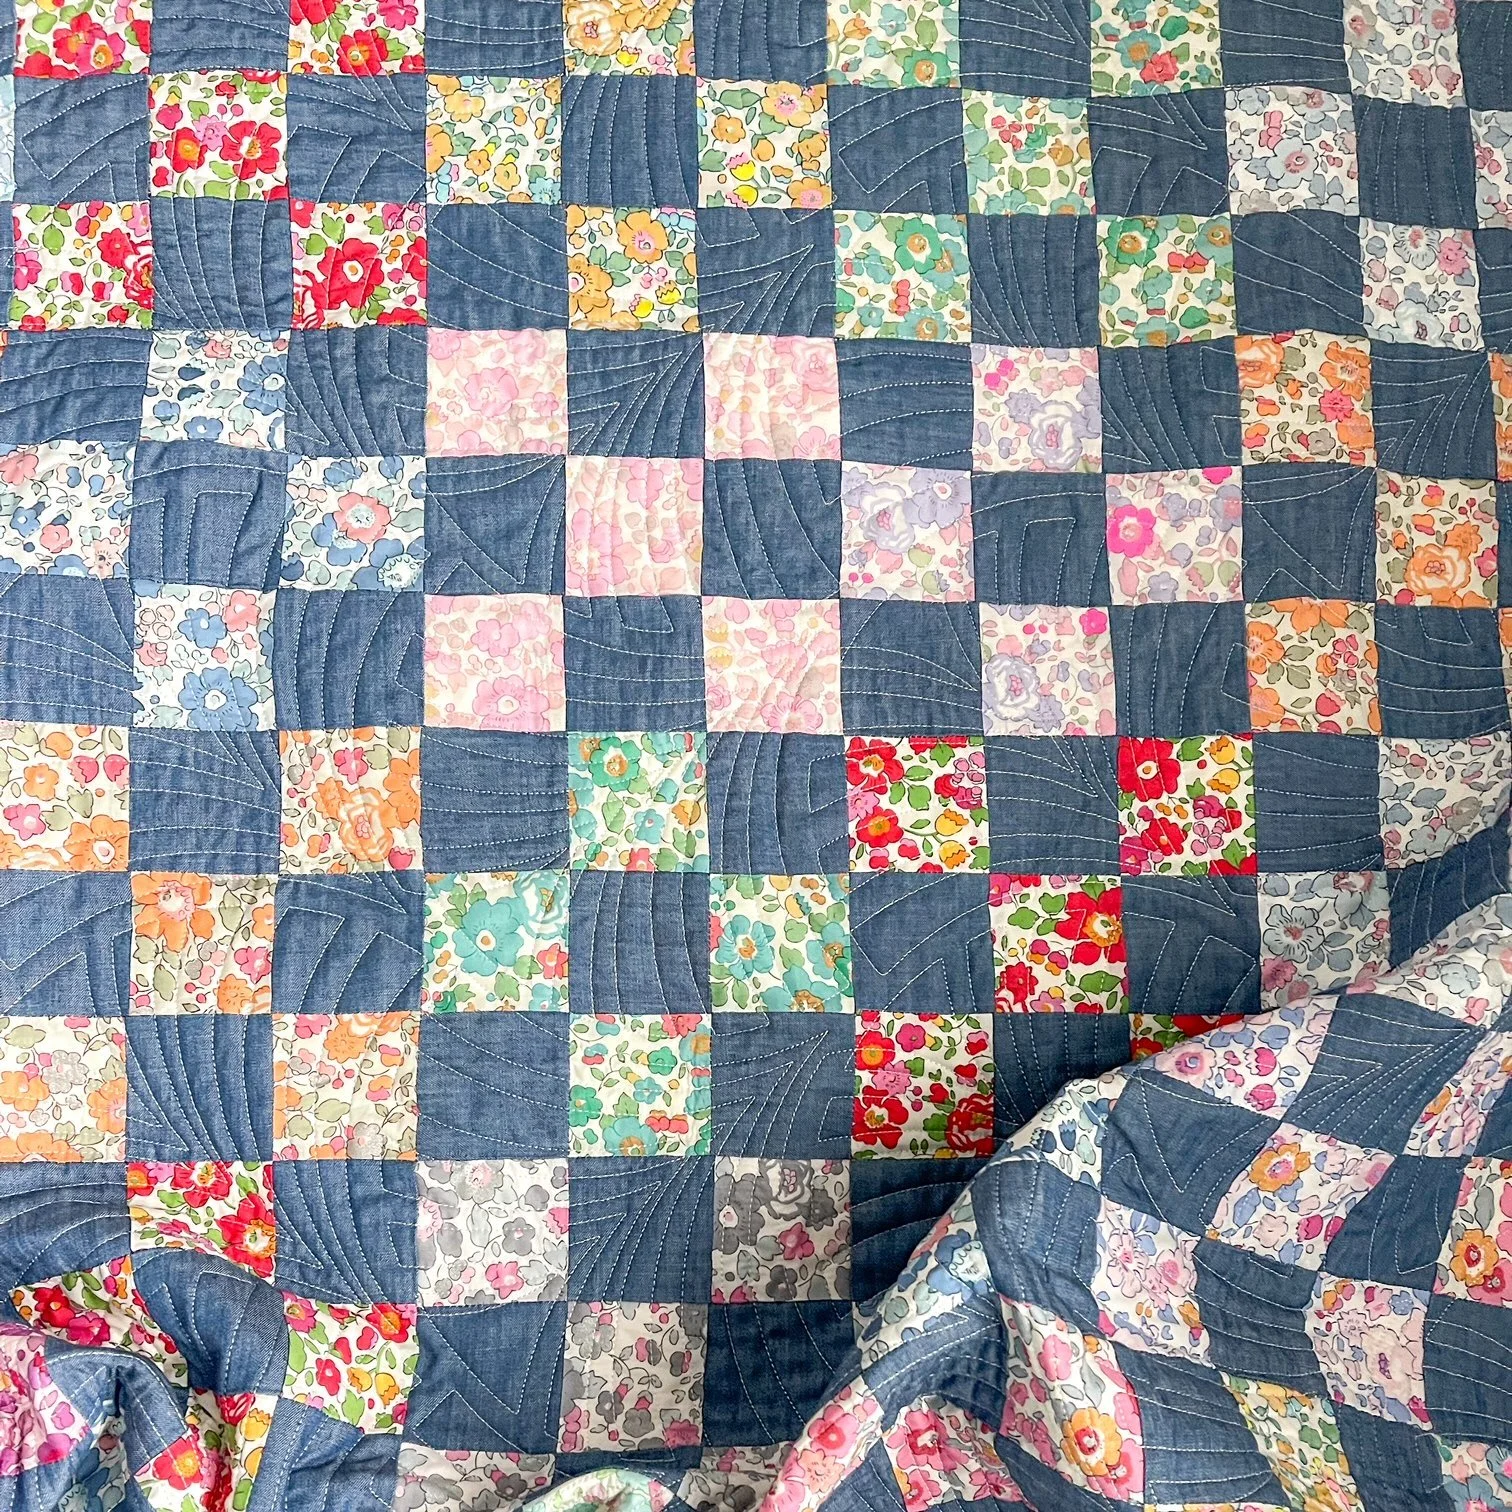
To make a standard 9-inch finished Nine Patch block, begin by cutting nine fabric squares, each measuring 3.5” x 3.5”. Quilters often use a mix of light and dark fabrics to create contrast, arranging the pieces in a checkerboard style where the center square stands out. Lay the squares out in three rows of three before sewing — this is a crucial step because it helps you visualize the final block and prevents accidental rotation of pieces.
Start by sewing the squares in each row together using a ¼-inch seam allowance, which is the standard seam measurement in quilting. Press the seams in the first row to the right, the second row to the left, and the third row to the right again. Alternating seam direction reduces bulk and helps seams nest neatly when rows are joined. Once all three rows are sewn, stitch the rows together, matching the seam intersections carefully to maintain crisp points and straight lines. Press the finished block flat without stretching the fabric. This simple block is a cornerstone of easy quilt block patterns and is widely used in scrap quilts and beginner quilting projects.
2️⃣ Log Cabin Quilt Block (A Classic Strip-Pieced Design)
The Log Cabin quilt block pattern is one of the most recognizable quilt designs in the world and frequently searched as how to make a log cabin quilt block. This block is built by sewing strips of fabric around a center square, creating a layered, geometric look that can form stunning overall quilt patterns depending on layout.


Begin by cutting a 2.5” x 2.5” center square, traditionally red to represent the hearth of a home. Then cut multiple 2.5” wide fabric strips in light and dark colors. The magic of the Log Cabin block lies in contrast — one side of the block uses darker strips and the opposite side uses lighter ones, creating the illusion of light and shadow across the quilt.
Sew your first strip to one side of the center square, press the seam outward, and trim the strip flush with the square’s edge. Continue adding strips in a spiral motion around the center, always working clockwise or counterclockwise to stay consistent. After each strip is sewn, press before adding the next. This method, called strip piecing, is efficient and perfect for beginners learning quilting techniques for accuracy. As the block grows, it will form a square. Trim to size once complete to ensure uniformity. Log Cabin blocks are extremely popular in modern quilting, scrap quilting, and traditional patchwork designs.
3️⃣ Half-Square Triangle Star Block (A Popular Quilting Favorite)
The Half-Square Triangle (HST) star block is a staple in quilting and appears in countless variations such as the Ohio Star and Sawtooth Star. Quilters often search for how to sew half square triangles because mastering HSTs unlocks hundreds of quilt block possibilities.


To make HST units, start with two fabric squares measuring 4” x 4” — one light and one dark. Draw a diagonal line across the back of the lighter square. Place the squares right sides together and sew ¼ inch on both sides of the drawn line. Cut along the diagonal line and press the triangles open toward the darker fabric. Trim each unit to 3.5” square for accuracy. Precision trimming is key to achieving sharp star points in quilt blocks.
For a simple star block, arrange four HST units around a center square and place solid squares in the corners. This layout forms a star shape radiating from the center. Sew the block together in rows, press seams carefully, and join the rows to complete the block. Star blocks are extremely popular in beginner quilting tutorials and are often used in baby quilts, wall hangings, and traditional bed quilts.
Tips for Success When Sewing Quilt Blocks
No matter which beginner quilt block pattern you choose, accurate cutting and consistent seam allowances are essential. Always use a rotary cutter, quilting ruler, and cutting mat for precision. Press seams gently without dragging the iron to avoid stretching fabric. Many quilters prefer pressing to one side rather than open seams to help pieces lock together during assembly.
Color choice is another important factor. High-contrast fabrics highlight the geometric design of quilt blocks, while low-contrast fabrics create a softer, blended appearance. When learning how to make quilt blocks for beginners, sticking to simple color schemes can make piecing easier and more satisfying.
Final Thoughts
Learning these three most popular quilt blocks — Nine Patch, Log Cabin, and Half-Square Triangle Star — gives you the foundation to create hundreds of quilt designs. These blocks are timeless, beginner-friendly, and highly searched in the quilting community, making them ideal projects whether you’re quilting for fun, gifts, or even to sell handmade quilts.
Master these, and you’ll have the core skills needed for advanced patchwork and intricate quilt layouts. Quilting is a journey, and every block you sew builds confidence and creativity along the way ✂️🧵