
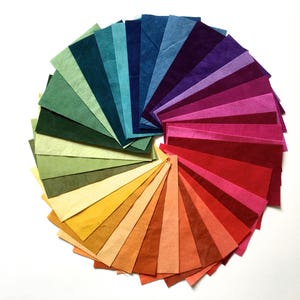
Before you touch the sewing machine, the most important step is choosing fabrics that look good together while still giving that charming “patchwork” feel. For a simple patchwork curtain, stick to 100% cotton fabrics, because they are easy to cut, sew, press, and wash. You can mix prints (florals, stripes, polka dots, small geometrics) with a few solids to keep the curtain from looking too busy. A helpful rule is to choose a loose color palette of 3–5 colors and repeat them across different prints so everything looks intentional instead of random. Pre-wash and dry all fabrics the same way you plan to wash the curtain later; this prevents shrinking after everything is sewn together. Measure your window width and height, then decide how full you want the curtain—most curtains look best at 1.5 to 2 times the window width, which means you’ll need extra patchwork width for gathers or folds.


Cutting Your Patchwork Pieces
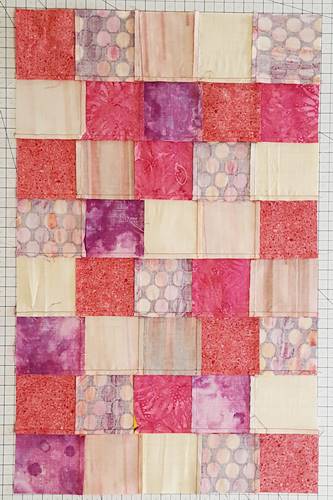
For a simple design, use squares or rectangles all the same size. This keeps the sewing straightforward and gives a clean, modern patchwork look. A great beginner size is 5 x 5 inch squares (charm-pack size) or 5 x 7 inch rectangles. Use a rotary cutter, quilting ruler, and cutting mat for accuracy, because uneven pieces will make the curtain top and bottom wavy. Calculate how many pieces you need by dividing your desired curtain width by the finished width of one square (remembering you lose ½ inch per piece to seam allowances) and doing the same for the length. Lay all your cut pieces out on the floor or a large table and rearrange them until the colors and prints feel balanced—avoid putting two identical fabrics right next to each other unless that’s part of your design.
Sewing the Patchwork Panel
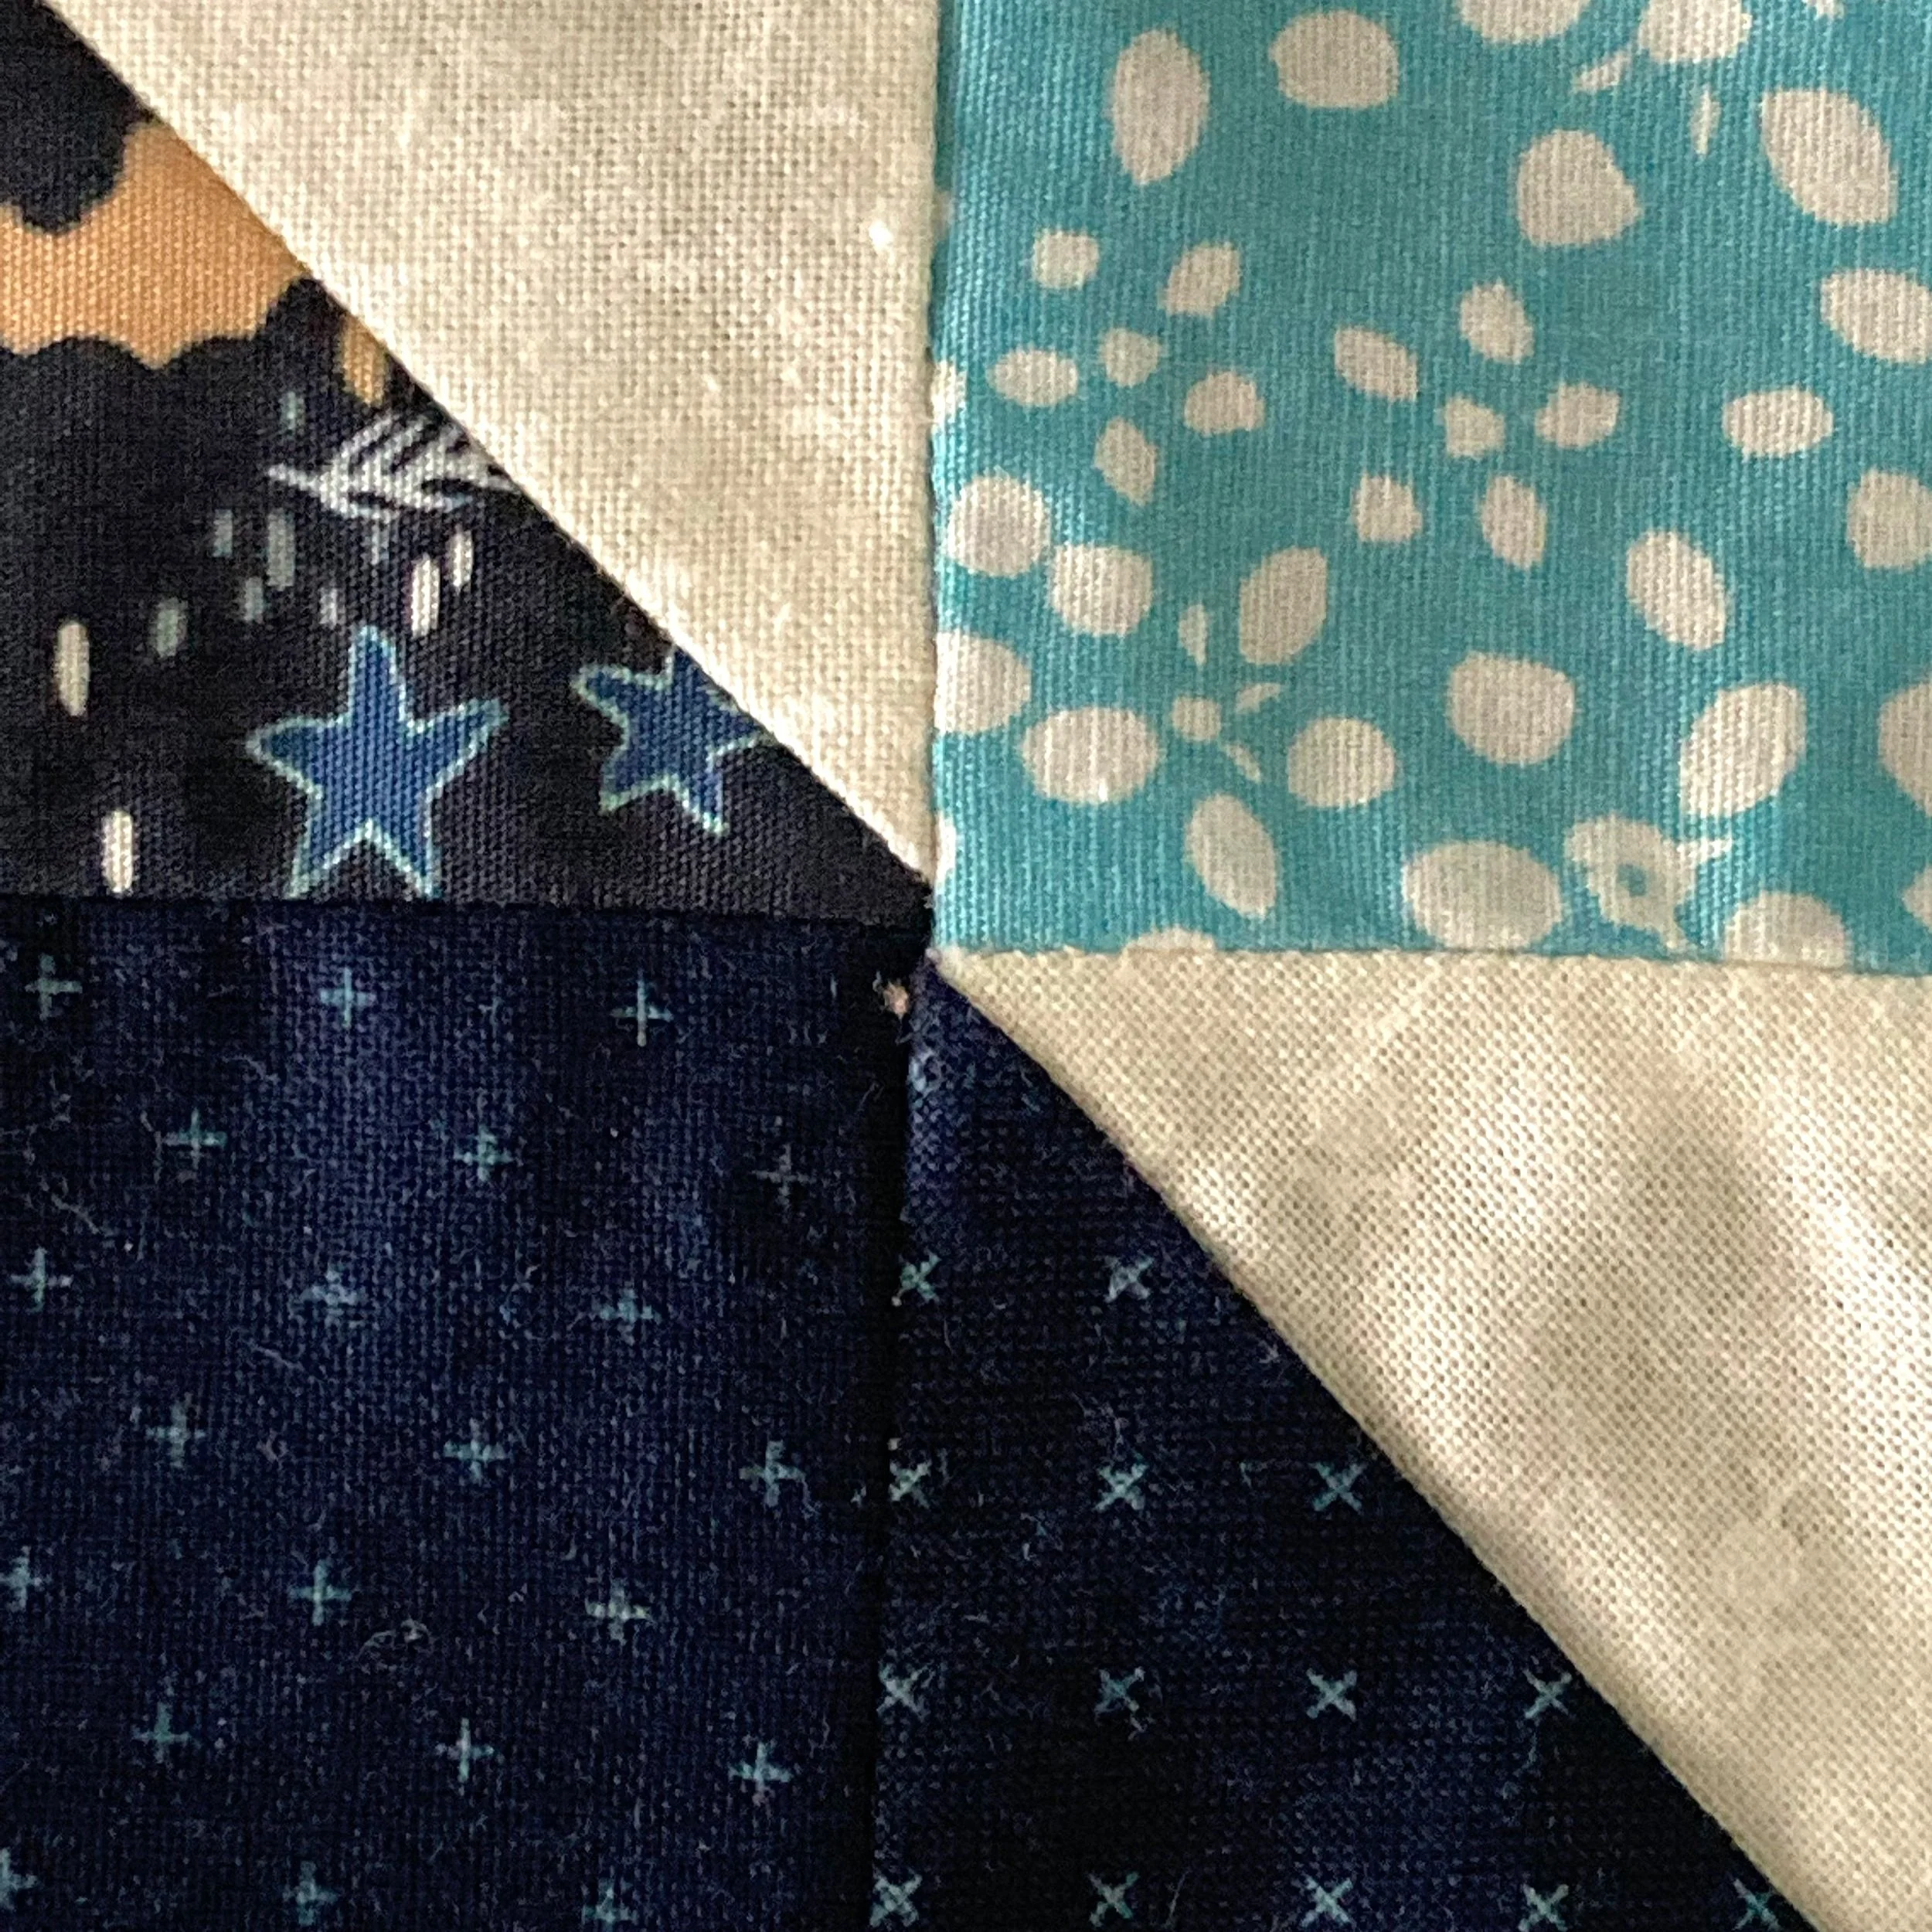
Start sewing pieces row by row. Place two squares right sides together, sew along one side with a ¼ inch seam allowance, and press the seam to one side. Add the next square to the row, and continue until the row reaches the width of your curtain. Make multiple rows this way. When all rows are ready, sew the rows together, matching seams carefully where squares meet so your corners line up nicely. Press each row seam in the opposite direction from the one next to it—this helps seams “nest” together and reduces bulk. As your panel grows, keep checking that it stays flat and square. If it starts to curve or ripple, your seam allowance may be inconsistent, so adjust before continuing.

Adding Borders (Optional but Helpful)
If your patchwork panel ends up slightly smaller than you planned—or if you want a cleaner frame around the busy prints—add simple fabric borders. Cut long strips of a solid or subtle print fabric. Sew strips to the left and right sides first, press, then add strips to the top and bottom. Borders not only make sizing easier but also help the curtain hang more smoothly by giving the eye a place to rest between the patchwork and the room.
Creating the Curtain Backing and Structure
A curtain needs more body than a quilt top alone can provide, so you’ll add a backing. Cut a single large piece of fabric (or piece together larger sections) the same size as your patchwork front. You can also add a lightweight lining fabric if you want more privacy or light blocking. Place the patchwork front and backing right sides together, smooth everything flat, and pin well. Sew all the way around the edges using a ½ inch seam allowance, leaving an opening of about 6–8 inches along one side. Trim corners to reduce bulk, turn the curtain right side out through the opening, and gently push out the corners with a blunt tool. Press the entire curtain flat, folding the opening edges inward, then topstitch all around the edge to close the gap and give the curtain a crisp finish.


Making the Curtain Header
At the top of the curtain, you need a way to hang it. The simplest option is a rod pocket. Fold the top edge down about 1 inch and press, then fold it down again 2–3 inches (depending on your curtain rod size). Sew along the lower folded edge, creating a tube for the rod to slide through. For a more decorative look, you can sew fabric tabs into the top seam or attach curtain rings with clips, but a rod pocket is the easiest and most beginner-friendly method.
Final Pressing and Hanging
Give the entire curtain one final press, especially the seams and edges. Slide the curtain rod through the pocket and hang it up. The mix of fabrics will catch the light differently throughout the day, giving the window a warm, handmade look. Because this is a simple patchwork design with straight seams and basic construction, it’s an ideal first large sewing project—and once you make one, it’s easy to repeat the process for other rooms using different color stories.