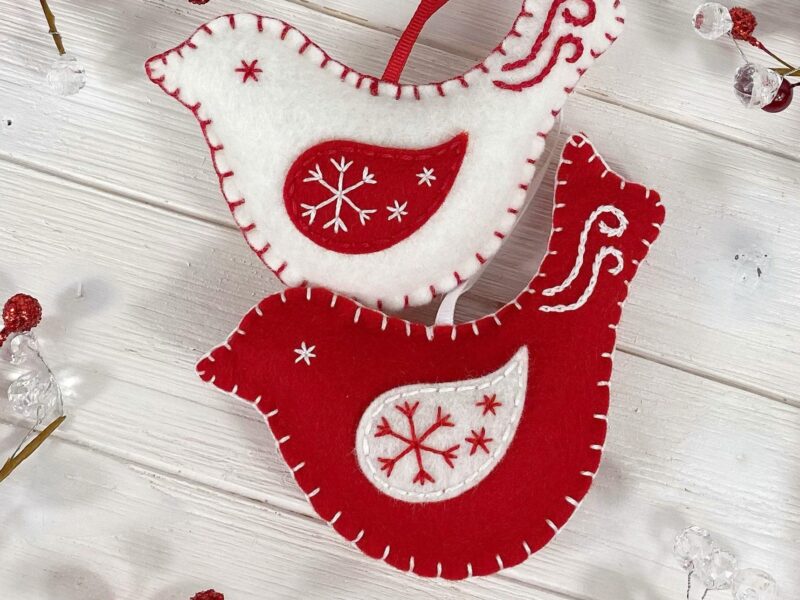
Create adorable teacup-shaped fabric bookmarks with this easy sewing tutorial. Learn how to make charming handmade bookmarks using fabric scraps, felt, embroidery details, and simple stitching techniques.
If you love reading, sewing, and handmade crafts, these teacup fabric bookmarks are a wonderful little project to make with your favorite fabric scraps. Inspired by vintage teacups, each bookmark features a cute cup shape, a decorative handle, and a small heart or flower detail at the end of the ribbon.
These DIY fabric bookmarks are quick to sew, inexpensive to make, and perfect for gifts, craft fairs, book lovers, teachers, or anyone who enjoys beautiful handmade accessories.
Teacup Fabric Bookmark Tutorial
This project uses simple sewing techniques and can be made by hand or with a sewing machine. The bookmark consists of a small fabric teacup attached to a long ribbon or fabric cord, with a decorative element at the opposite end.
The best part is that you can use small pieces of leftover cotton fabric, making this a great scrap-busting sewing project.


Materials Needed
To make one teacup bookmark, you will need:
- Cotton fabric scraps
- Felt or soft fabric for the inside of the cup
- Small pieces of contrasting fabric for decoration
- Embroidery floss
- Sewing thread
- Needle
- Sewing machine, optional
- Fabric scissors
- Paper and pencil for the pattern
- Pins or sewing clips
- Fabric glue, optional
- Ribbon, cotton cord, or crochet cord
- Polyester fiberfill, optional
- Iron
- Small embroidery scissors
Optional Decorative Materials
You can also use:
- Small buttons
- Lace
- Tiny fabric flowers
- Embroidery thread
- Decorative beads
- Small pieces of gingham or floral fabric
- Ribbon scraps
How to Make the Teacup Bookmark Pattern
Before cutting your fabric, create a simple paper template.
The main teacup should look like a small cup or rounded bowl.
A good starting size is approximately:
7–9 cm wide × 5–6 cm tall
You can make the cup larger or smaller depending on the look you want.
Draw the cup body with a slightly curved bottom and a gently curved top.
Then create a separate template for the handle.
The handle should resemble a small C shape.
Finally, make a small template for the decorative heart or flower that will hang from the opposite end of the bookmark.
Step 1: Cut the Fabric Pieces
Place your paper teacup template on the wrong side of your fabric.
Trace around it and cut.
For each bookmark, prepare:
- 2 teacup fabric pieces
- 2 handle pieces
- 1 small decorative shape
- 1 long ribbon or fabric cord
If you want the inside of the cup to have a different color, cut one piece from your main fabric and another from felt or contrasting fabric.
Tip
Use cotton quilting fabric because it is lightweight, easy to sew, and available in countless colors and prints.
This project is especially beautiful with:
- Gingham
- Polka dots
- Stripes
- Floral prints
- Vintage-inspired fabrics
- Small-scale prints
Step 2: Prepare the Teacup Decoration
The teacup in the inspiration design has a soft, padded appearance with a contrasting upper section.
You can reproduce this effect by cutting a small oval or curved piece of beige, cream, or peach fabric for the inside of the cup.
Place this piece along the upper edge of the teacup.
Secure it with pins.
Sew around the curved edge using a straight stitch.
For a handmade decorative effect, you can also use small blanket stitches around the edge.
Step 3: Add Decorative Details
Now personalize your teacup.
You can embroider tiny dots, flowers, hearts, or other motifs onto the fabric.
For example, create small white dots on red fabric using French knots or tiny straight stitches.
For a vintage look, try:
- Small embroidered flowers
- French knots
- Tiny leaves
- Decorative lines
- Simple hearts
Keep the embroidery relatively small so the bookmark remains lightweight.
Step 4: Make the Teacup Handle
Take the two handle pieces and place them right sides together.
Sew around the outer edge, leaving a small opening.
Trim away excess fabric around the curves.
Turn the handle right side out.
If the handle is very narrow, use a turning tool, blunt needle, or chopstick to carefully push out the curves.
Press it gently with an iron.
Alternative Method
For an easier version, make the handle from felt.
Simply cut the C-shaped handle and sew it directly onto the cup.
This method is particularly convenient when making several bookmarks.
Step 5: Attach the Handle to the Cup
Position the handle on the side of the teacup.
Make sure the ends of the handle are hidden inside the seam allowance.
Pin it securely.
At this stage, you can temporarily baste the handle in place.
The handle should resemble a traditional teacup handle.
Step 6: Add the Bookmark Cord
The long cord is what connects the teacup to the decorative piece at the other end.
Cut a piece of ribbon or cord approximately:
30–40 cm long
You can make it longer if you prefer a bookmark that extends farther outside the book.
Fold one end of the cord slightly and position it at the top center of the teacup.
Secure it with a few stitches.
Important
Make sure the cord is securely attached before closing the cup because it will be pulled when the bookmark is used.
Step 7: Sew the Teacup Pieces Together
Place the two teacup pieces right sides together.
Pin around the edges.
Sew around the entire shape, leaving a small opening at the bottom or side for turning.
Use approximately a 0.5–1 cm seam allowance.
Be careful around the curved sections.
Step 8: Trim the Seams
Before turning the cup right side out, carefully trim the excess seam allowance around the curves.
You can also make tiny clips into the seam allowance around curved areas.
This helps the fabric lie smoothly after turning.
Be careful not to cut through the stitches.
Step 9: Turn and Press
Carefully turn the teacup right side out through the opening.
Use a blunt turning tool to gently push out the corners and curves.
Press the piece with an iron.
At this point, the teacup should have a clean, rounded shape.
Step 10: Add a Little Filling
For the soft, slightly padded appearance shown in the inspiration design, add a very small amount of polyester fiberfill.
Do not overfill it.
The bookmark should remain flat enough to sit comfortably between the pages of a book.
A tiny amount of stuffing is enough to give the cup some dimension.
Step 11: Close the Opening
Fold the raw edges of the opening toward the inside.
Close the opening using a small ladder stitch or invisible hand stitch.
Pull the thread gently so the stitches disappear into the seam.
Press the finished cup once more if necessary.
Step 12: Make the Decorative End Piece
The opposite end of the bookmark can feature a small heart, flower, teacup-shaped charm, or fabric button.
For a simple heart:
- Draw a small heart template.
- Cut two pieces of fabric.
- Place them right sides together.
- Sew around the edge.
- Leave a small opening.
- Turn the heart right side out.
- Add a tiny amount of stuffing.
- Close the opening with a ladder stitch.
You can embroider a tiny flower or initial on the heart.
Step 13: Attach the Decorative Piece
Attach the opposite end of the cord to the small heart or flower.
You can sew the cord directly to the back of the piece.
For extra security, stitch through the cord several times.
Tie a small knot and hide the thread ends inside the fabric.
Your Teacup Bookmark Is Finished!
You now have a charming handmade fabric teacup bookmark.
The finished bookmark should be lightweight and flexible, with the teacup resting outside the book while the cord runs between the pages.
This makes it both decorative and practical.
How to Customize Your Fabric Bookmarks
One of the best things about this project is how easy it is to personalize.
Vintage Teacup Bookmark
Use:
- Cream
- Beige
- Dusty pink
- Floral fabric
- Gingham
- Lace
Add embroidered flowers and a tiny pearl or button.
Modern Teacup Bookmark
Choose:
- Black and white
- Geometric prints
- Minimalist embroidery
- Neutral fabrics
Cute Cottagecore Bookmark
Try:
- Floral cotton
- Gingham
- Soft green
- Pink
- Cream
Add tiny embroidered flowers and leaves.
Christmas Bookmark
Use:
- Red
- Green
- Cream
- Christmas prints
Replace the heart with a small Christmas tree or star.
Sewing Tips for Beginners
Keep the pieces small
Small fabric scraps are perfect for this project. You don’t need large pieces of fabric.
Use sharp scissors
Small sewing scissors make it much easier to cut the curves accurately.
Don’t overstuff the cup
A bookmark needs to remain relatively flat.
Reinforce the cord
The cord receives more tension than the decorative pieces, so sew it securely.
Press as you sew
Ironing small fabric pieces between steps makes a big difference in the final appearance.
Easy No-Sew Version
If you don’t have a sewing machine or don’t want to sew by hand, you can simplify this project.
Use felt instead of cotton fabric.
Cut:
- 2 teacup shapes
- 2 handle shapes
- 1 heart
Glue the pieces together using fabric glue.
Attach a ribbon between the pieces.
Allow the glue to dry completely before using the bookmark.
This version is especially suitable for a quick afternoon craft project.
Handmade Gift Idea
These DIY teacup bookmarks make wonderful handmade gifts.
Create a small collection using different fabrics and package them with a favorite book.
You could make a set of three or four bookmarks using coordinated fabrics.
They are perfect for:
- Mother’s Day
- Birthdays
- Christmas
- Teacher gifts
- Book club gifts
- Valentine’s Day
- Handmade craft fairs
- Book lover gifts
You can even personalize each bookmark with an embroidered initial.
How to Make Multiple Bookmarks Quickly
If you want to make several bookmarks, prepare all the pieces before beginning.
First:
- Draw one master template.
- Cut all the fabric pieces.
- Prepare all handles.
- Add embroidery to all cups.
- Sew all the cups.
- Turn and press them.
- Attach all cords.
- Make the decorative hearts.
- Assemble everything.
This small-batch method is much faster than completing one bookmark from beginning to end before starting the next.
Frequently Asked Questions
What fabric is best for fabric bookmarks?
Lightweight cotton quilting fabric is one of the best choices. It is easy to sew, durable, and available in many beautiful prints.
How long should a fabric bookmark be?
A cord approximately 30–40 cm long works well for a standard bookmark, but you can adjust the length according to the size of your book.
Can I make these bookmarks by hand?
Yes! You don’t need a sewing machine. The entire project can be sewn by hand using a basic running stitch, backstitch, and ladder stitch.
Can I use fabric scraps?
Absolutely. This is an excellent fabric scrap sewing project because the teacup pieces are small.
Can I sell handmade teacup bookmarks?
Yes. You can make your own versions to sell at craft fairs, online shops, or as handmade gifts. If you are selling them, consider creating your own original templates and variations rather than reproducing another designer’s exact pattern.
Final Thoughts
These teacup fabric bookmarks are a lovely combination of sewing, embroidery, and creative fabric decoration. They are small enough to make with leftover materials but special enough to become a thoughtful handmade gift.
Experiment with different fabrics, embroidery designs, colors, and decorative charms to create your own collection of unique bookmarks.
Whether you’re making one for yourself or several as gifts, this DIY sewing project for book lovers is a fun and practical way to turn beautiful fabric scraps into something useful.