Block Name: The Double Variable Star (or Double Sawtooth Star)
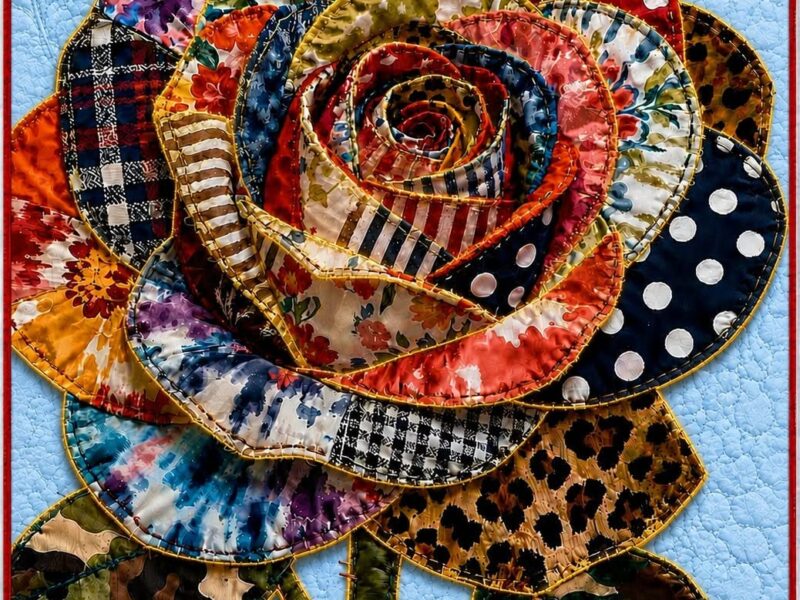
This block is a stunning traditional variation of the classic Sawtooth Star. By nesting two sets of star points together, it creates a “star within a star” effect. It is a massive crowd-pleaser because it allows quilters to “fussy-cut” a beautiful focal fabric (like the rose in the picture) for the center, framing it like a piece of art.
Double Variable Star Quilt Block Tutorial
Finished Size: 12″ × 12″ (12.5″ × 12.5″ unfinished)
Seam Allowance: $\frac{1}{4}\text{ inch}$ throughout.
Fabric & Cutting Guide
To achieve the striking look in the photo, choose four distinct fabrics:
-
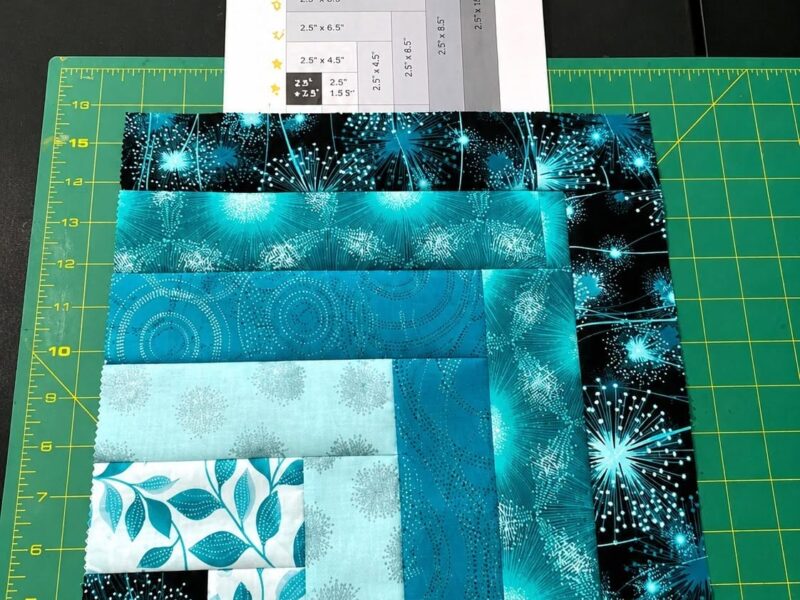
Fabric A (Center Focal): 1 Fussy-cut floral square ($4.5″ \times 4.5″$)
-
Fabric B (Background – Cream/Gold Swirl):
-
4 Corner rectangles ($2.5″ \times 4.5″$)
-
4 Small corner squares ($2.5″ \times 2.5″$)
-
4 Outer star sky rectangles ($2.5″ \times 4.5″$) — or use the No-Waste Flying Geese method below
-
-
Fabric C (Inner Accent – Cyan/Teal):
-
4 Inner corner squares ($2.5″ \times 2.5″$)
-
Accent triangles for star points
-
-
Fabric D (Deep Star Contrast – Purple/Dark Blue):
-
Contrast triangles for star points
-
Step-by-Step Construction
Step 1: Fussy-Cut the Center
-
Centering your ruler over a large floral motif on your fabric, cut one $4.5″ \times 4.5″$ square.
-
Tip: Use a clear acrylic square ruler so you can see exactly where the flower sits before cutting.
Step 2: Build the Double Flying Geese Units (The Star Points)
Each of the 4 sides of this star consists of two Flying Geese units sewn base-to-base. You will need to make 4 Outer Geese and 4 Inner Geese.
-
Outer Flying Geese (Cream background with Teal/Blue points):
-
Create 4 units that measure $2.5″ \times 4.5″$ unfinished. The background fabric should be your cream/gold, and the points should be your blue/teal fabric.
-
-
Inner Flying Geese (Purple background with Teal/Cyan points):
-
Create 4 units that measure $2.5″ \times 4.5″$ unfinished.
-
-
Combine Them: Sew one Outer Flying Geese unit to one Inner Flying Geese unit along their long raw edges (bases matching).
-
Press the seam open to reduce bulk. You now have 4 Star Point Units measuring $4.5″ \times 4.5″$.
Step 3: Assemble the Corner Blocks
Look closely at the corners of the image; they are beautifully framed asymmetrical units.
-
Sew a $2.5″ \times 2.5″$ Cream square to a $2.5″ \times 2.5″$ Cyan square.
-
Sew a $2.5″ \times 4.5″$ Cream rectangle to the side of that unit to complete a $4.5″ \times 4.5″$ Corner Unit.
-
Repeat to create 4 identical Corner Units.
Step 4: The 9-Patch Layout & Assembly
Lay out your pieces on a design wall or flat surface in a 3×3 grid:
-
Top Row: Corner Unit $\rightarrow$ Star Point Unit $\rightarrow$ Corner Unit
-
Middle Row: Star Point Unit $\rightarrow$ Fussy-Cut Center $\rightarrow$ Star Point Unit
-
Bottom Row: Corner Unit $\rightarrow$ Star Point Unit $\rightarrow$ Corner Unit
-
Sew the rows horizontally: Stitch the three units of each row together.
-
Pressing: Press the seams of the Top and Bottom rows inward toward the center. Press the seams of the Middle row outward toward the star points. This allows your seams to nest perfectly.
-
Join the rows: Pin generously at the seam intersections to ensure your star points line up flawlessly. Sew the rows together and give the entire block a final press.
Pro Tips for a “Show-Stopping” Block
-
Master the No-Waste Flying Geese Method: To keep your star points incredibly sharp without losing your tips in the seam allowances, use the “4-at-a-time” Flying Geese method using a quilting ruler. It prevents biased edges from stretching.
-
Color Value is Key: For this block to “pop” like the photo, you need high contrast. Notice how the dark purple sits directly next to the bright cyan? This high contrast defines the internal star shape.
-
Flatter Seams: Because so many triangle points meet in the star sections, consider using a wooden tailor’s clapper immediately after steam-pressing. It traps the heat and flattens bulky seams beautifully!