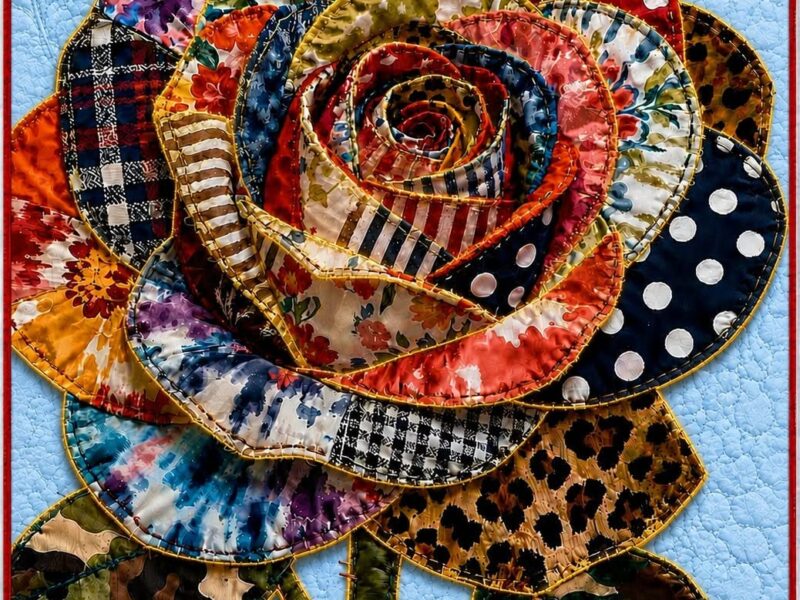
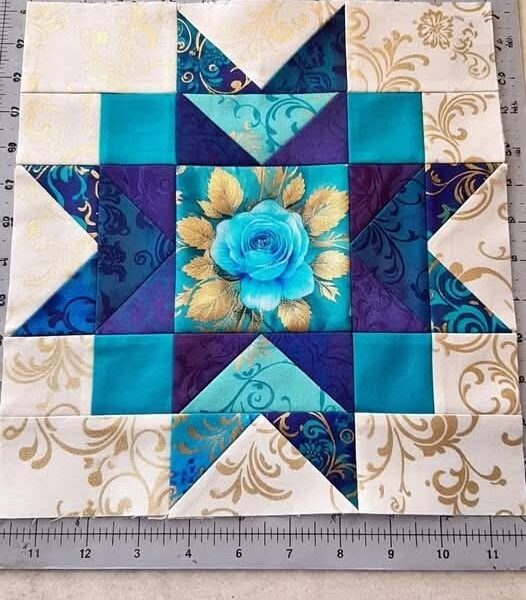
This stunning modern quilt block plays with color gradients, moving from dark or patterned centers out to beautiful ombre or coordinating strips. It’s highly engaging, visually striking, and very popular among quilting communities!
Cutting Guide (Unfinished Sizes)
To recreate the exact block shown in the image, cut your fabric strips to a standard width of $2.5 \text{ inches}$. You will need the following pieces:
-
Center Square: $2.5″ \times 2.5″$
-
Strip 1: $2.5″ \times 1.5″$
-
Strip 2: $2.5″ \times 4.5″$
-
Strip 3: $2.5″ \times 4.5″$
-
Strip 4: $2.5″ \times 6.5″$
-
Strip 5: $2.5″ \times 8.5″$
-
Strip 6: $2.5″ \times 8.5″$
-
Strip 7: $2.5″ \times 10.5″$
-
Strip 8: $2.5″ \times 12.5″$
-
Strip 9: $2.5″ \times 18.5″$
Pro Tip: Use a $\frac{1}{4}\text{-inch}$ seam allowance throughout the entire assembly process to ensure all your pieces align perfectly.
Step-by-Step Assembly Instructions
Step 1: The Core
-
Take your $2.5″ \times 2.5″$ Center Square and sew the $2.5″ \times 1.5″$ strip directly to its right side.
-
Press the seam allowance toward the darker fabric.
Step 2: Adding the First Corner Frame
-
Sew the first $2.5″ \times 4.5″$ strip horizontally along the top edge of your newly joined center unit. Press well.
-
Next, take the second $2.5″ \times 4.5″$ strip and sew it vertically to the right side of the unit. Press.
Step 3: Expanding the Block
-
Sew the $2.5″ \times 6.5″$ strip horizontally across the top edge. Press.
-
Sew the first $2.5″ \times 8.5″$ strip vertically down the right side. Press.
Step 4: Continuing the Pattern
-
Sew the second $2.5″ \times 8.5″$ strip horizontally across the top edge. Press.
-
Sew the $2.5″ \times 10.5″$ strip vertically down the right side. Press.
Step 5: The Final Borders
-
Sew the $2.5″ \times 12.5″$ strip horizontally across the top edge. Press.
-
Finally, sew the long $2.5″ \times 18.5″$ strip vertically down the right side to complete the block frame. Press thoroughly.
Pressing & Finishing Tips
-
Press as you go: Always press your seams before crossing them with another line of stitching. For a flatter block, press seams toward the newly added strip.
-
Squaring Up: Once fully assembled, lay your block on a cutting mat and use a quilting ruler to square it up to its final unfinished dimensions.
This layout creates a gorgeous cascading “L-shape” effect that looks incredible when repeated across an entire quilt top!